Meet Your ResaleOS Online Storefront: Setup Guide
This article provides a step-by-step guide to setting up your ResaleOS online storefront, including customization and product preparation.
Meet your ResaleOS Online Storefront
Your ResaleOS storefront is your ready-to-use online shop. Every seller gets a unique link you can share. Customers can browse your catalog, add items to cart, estimate shipping with their ZIP code, choose a shipping provider at checkout, and pay online. You prep the item—ResaleOS handles the shipping booking and sends a carrier.
Note: Storefront pages are SEO‑optimized. Clear titles and descriptions help your products rank on Google.
Step 1: Turn on and customize your storefront
Open your storefront settings
- Go to Settings in the left menu.
- Click Sales & Import Channels.
- Select Resale Storefront.
Set your store details
- Logo: Upload a clean, square image.
- Store Name: This appears on your storefront header and product pages.
- URL: Choose your storefront link (your public URL).
- About/Description: Add a short intro about your business.
- Social Links: Add links to Instagram, Facebook, TikTok, etc.
- Click Save.
Coming soon: Connect your own domain so your storefront can live at yourwebsite.com.
Step 2: Prepare your products for sale
The items you list in ResaleOS can be shown on your storefront. Make sure each product is ready for online checkout:
- Add clear photos from multiple angles.
- Use accurate, keyword‑rich titles and descriptions.
- Set a price and quantity.
- Add weight and dimensions so shipping rates can be estimated.
- Offer pickup if you allow local customers to collect items.
Tip: Accurate weight and size = accurate shipping quotes. Measure and weigh after packaging.
Step 3: Share your storefront link
- Copy your public link from the Resale Storefront settings page.
- Share it on social bios, emails, texts, and business cards.
- Print a QR code and place it at your counter or booth.
What your customers see
- Browse: They can view your catalog and item pages.
- Estimate shipping: Enter a ZIP code on an item to see delivery options to their address.
- Add to cart: Add multiple items and view the cart.
- Checkout: Choose a shipping provider (e.g., UShip, GoShare, FedEx) or pickup, then pay.
Note: ResaleOS supports nationwide delivery. Local buyers can still choose pickup if you enable it.
After a customer checks out
- Automatic sale: ResaleOS creates the order in your Sales area and notifies you.
- Prepare the item: Pack the product securely.
- Shipping booked: ResaleOS handles carrier booking. Follow the pickup/label instructions in the order.
- Complete: Mark the order shipped or picked up when done.
Tips for a high‑converting storefront
- Keep your catalog fresh—remove sold items and add new arrivals weekly.
- Use clear, front‑lit photos on neutral backgrounds.
- Include condition, measurements, material, and model numbers in descriptions.
- Set competitive prices and use price suggestions from analytics when available.
- Test your checkout: place a small test order to see what buyers see.
Quick troubleshooting
- Can’t open your storefront link? Re‑save settings and confirm your URL slug.
- No shipping rates? Add weight and dimensions to the item.
- Item not visible? Make sure it’s set for sale and in stock.
- Low traffic? Share your link often and improve titles for SEO.
Frequently asked questions
How do I customize my ResaleOS storefront?
You can customize your storefront by accessing Settings, then Sales & Import Channels, and selecting Resale Storefront.
What types of products can I sell on ResaleOS?
You can sell any products you list in ResaleOS, ensuring they are ready for online checkout with accurate details.
Can customers estimate shipping costs?
Yes, customers can enter their ZIP code to estimate shipping costs for their selected items during checkout.
How can I share my storefront link?
You can share your storefront link via social media, emails, texts, and even by printing QR codes for physical locations.
What happens after a customer checks out?
After checkout, ResaleOS automatically handles the shipping booking and sends a carrier to deliver the purchased items.
Related Articles
The register
How the point of sale works — cart, tenders, drawers & receipts
The whole register, in the order a sale moves through it: scanning and pricing the cart, tax and surcharges, split tender and change due, card readers, layaway and gift cards, then drawer counts, register lock and receipts.
Rose → ResaleOS
How to move from Rose (Consignor Connect) to ResaleOS
Free, done-for-you move from Rose to ResaleOS. Rose runs on Square, so you connect Square with one click and your items, photos and sales arrive on their own. Rose's Contract List brings every consignor, split and balance, and each item is linked back to its consignor. Live by lunch, with your Square register still ringing.
Website builder
How the ResaleOS website builder works
Build a real website around your ResaleOS shop — clone your old site, start from a template, or describe it to AI. Plus favicon, social sharing, SEO and search-engine verification.
How to Connect Your Shopify Store to ResaleOS
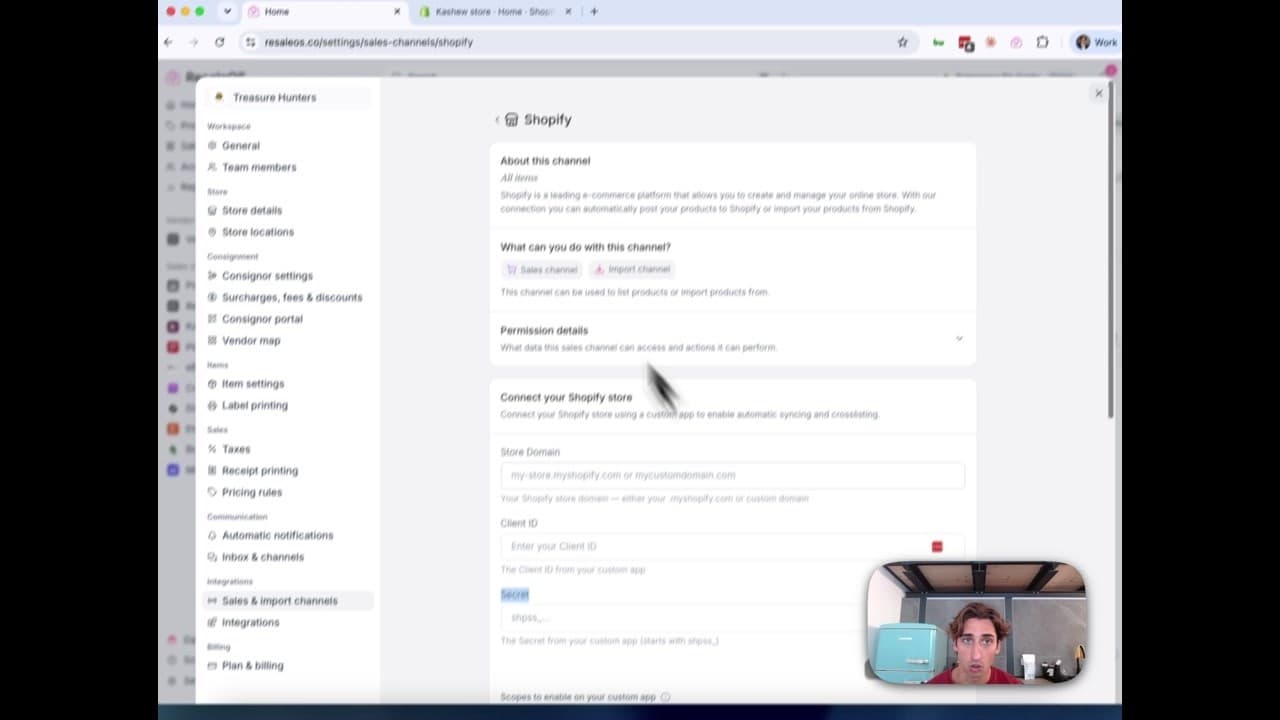
Create a Shopify custom app, paste in the scopes ResaleOS gives you, and connect your store in a few minutes.
Vendoo → ResaleOS
How to move from Vendoo to ResaleOS
Moving from Vendoo takes about an hour, and nothing you have live gets re-listed or delisted. Connect the marketplaces you already sell on so your listings arrive with every photo, upload one export file from Vendoo for your drafts, labels and costs, and keep cross-listing from ResaleOS.
AI image editing
How image editing works — background removal, AI staging & batches
Remove backgrounds, add shadows, restage a product from a prompt, crop, colour-correct and watermark — on one photo or a whole batch. Which AI models run each job, what counts against your monthly photo edits, and how recipes replay your house style.
What we cover in a demo
ResaleOS overview — what we cover in a demo call
The same walkthrough we give on a live demo call, recorded so you can watch it now: inventory, building a listing from photos, the pricing engine, crosslisting, sales from every channel, your storefront, consignors and what it costs. Seven minutes, full transcript included.
Import stock photos
How to import stock photos from the web
Type a product title and ResaleOS finds the same item on eBay, Poshmark, Mercari, Etsy and more — then lets you import their photos in one tap. Plus barcode lookup, Upload by URL, plan limits, and when to shoot your own photos instead.

Get started
Put what you've learned into practice. Start listing, managing inventory, and selling across channels today.