Create a product and cross-list it with ResaleOS
This guide walks you through creating a product in ResaleOS, letting AI do the heavy lifting, and posting to multiple marketplaces in one go.
Before you start
- Connect your sales channels (eBay, Etsy, Poshmark, Mercari, Shopify, Facebook Marketplace, Pinterest, etc.).
- Have clear photos of your item ready. Multiple angles help the AI identify it better.
- Know your rough price target or be ready to use comps inside ResaleOS.
Step 1: Start a new product
- Click the Products tab.
- Click Create product.
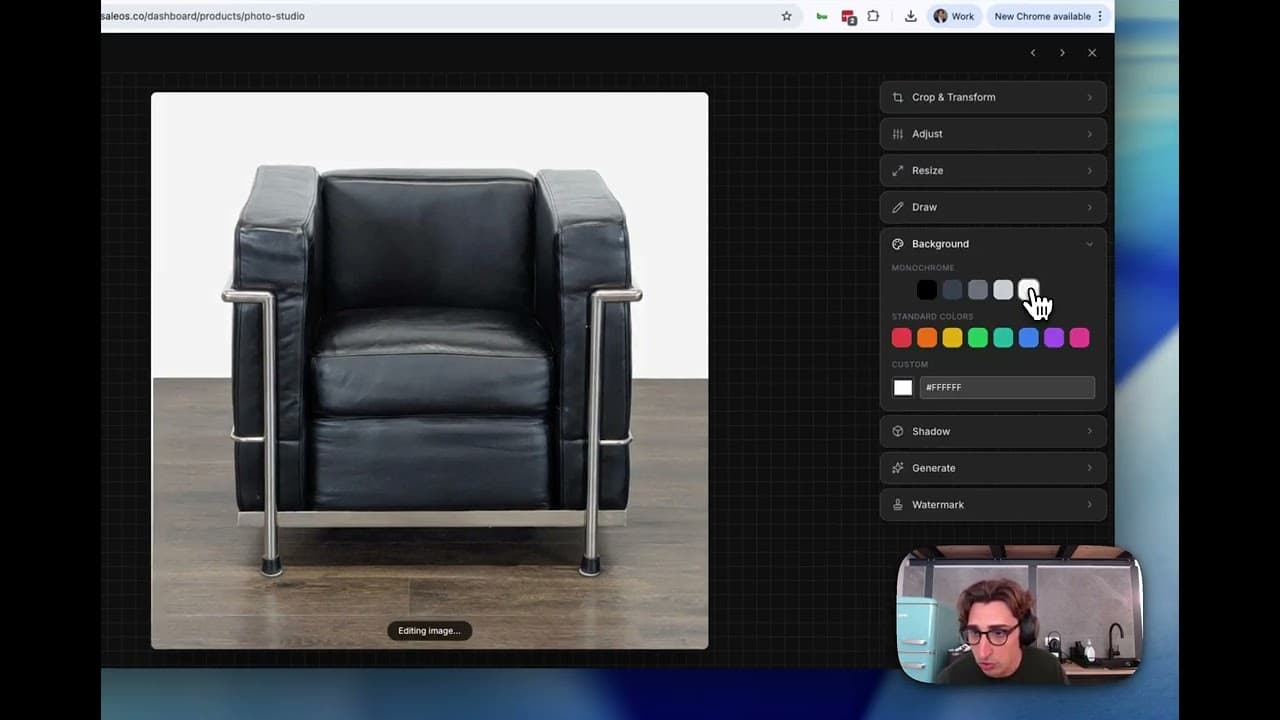
Step 2: Upload photos and let AI catalog your item
- Upload your item photos.
- ResaleOS AI will analyze the images and auto-fill as many fields as possible:
- Title
- Description
- Category
- Dimensions and weight (if it can infer them)
Tip: If the AI misses something, that’s normal. You can edit any field it fills in.
Step 3: Review and complete product details
- Title: Refine the AI title to be accurate and searchable. Example: “Oval Tulip Marble Dining Table.”
- Description: Keep it clear. Include material, color, style, any flaws, and what’s included.
- Category: Confirm it matches your item. Adjust if needed.
-
Price:
- If empty, use the pricing/comps panel to see how similar items are priced online.
- Click any comp to open it and compare.
- SKU: Click to Generate an SKU, or enter your own format.
- Inventory by location: Enter quantity per warehouse (e.g., “2 in San Francisco,” “1 in New York”).
- Condition: Choose the best fit (e.g., Excellent). Add notes if helpful.
- Dimensions and weight: Verify what AI suggested. Correct if needed.
- Attributes: Add relevant details for the category (material, color, style, brand, era, etc.).
Tip: Accurate dimensions and weight help get the right shipping quotes with carriers (FedEx, GoShare, UShip) and reduce return risk.
Step 4: Choose where to post (sales channels)
- Select the channels you want to post to (e.g., Etsy, Pinterest, and any others you’ve connected).
- Optionally add channel-specific instructions, such as:
- “Increase price by 10% on [Channel].”
- “Append this line to the description on [Channel].”
Note: Marketplace rules vary. Only include content (like phone numbers or external links) where allowed by that marketplace.
Pro tip: You can set defaults for these instructions in Settings so they apply automatically every time you list.
Step 5: Add a consignor (optional)
- If this item is consigned, choose the Consignor from the dropdown.
- Adjust the consignment terms for this item if needed.
- If you don’t see the consignor, click to add them quickly from the side modal, then select them.
Step 6: Create the product and watch it post
- Click Create product.
- ResaleOS will begin posting to your selected channels.
- You’ll see posting progress and can open the live listing on each channel once it’s created.
Tip: Give each live listing a quick look. Make sure photos, price, shipping, and condition read correctly on every marketplace.
Practical tips
- Photos: Use good light, neutral background, and capture any flaws honestly.
- Titles: Front-load key terms buyers search for (brand, model, material, size).
- Pricing: Start with comps, then adjust for condition, region, and shipping complexity.
- Shipping: Large or heavy items benefit from accurate measurements for carrier quotes.
- Consistency: Set your default channel rules in Settings to save time and keep pricing consistent across marketplaces.