Step 1: Open Photo Studio
From the left navigation, click Products, then click Photo Studio. This is where you’ll upload, edit, and organize your product photos.
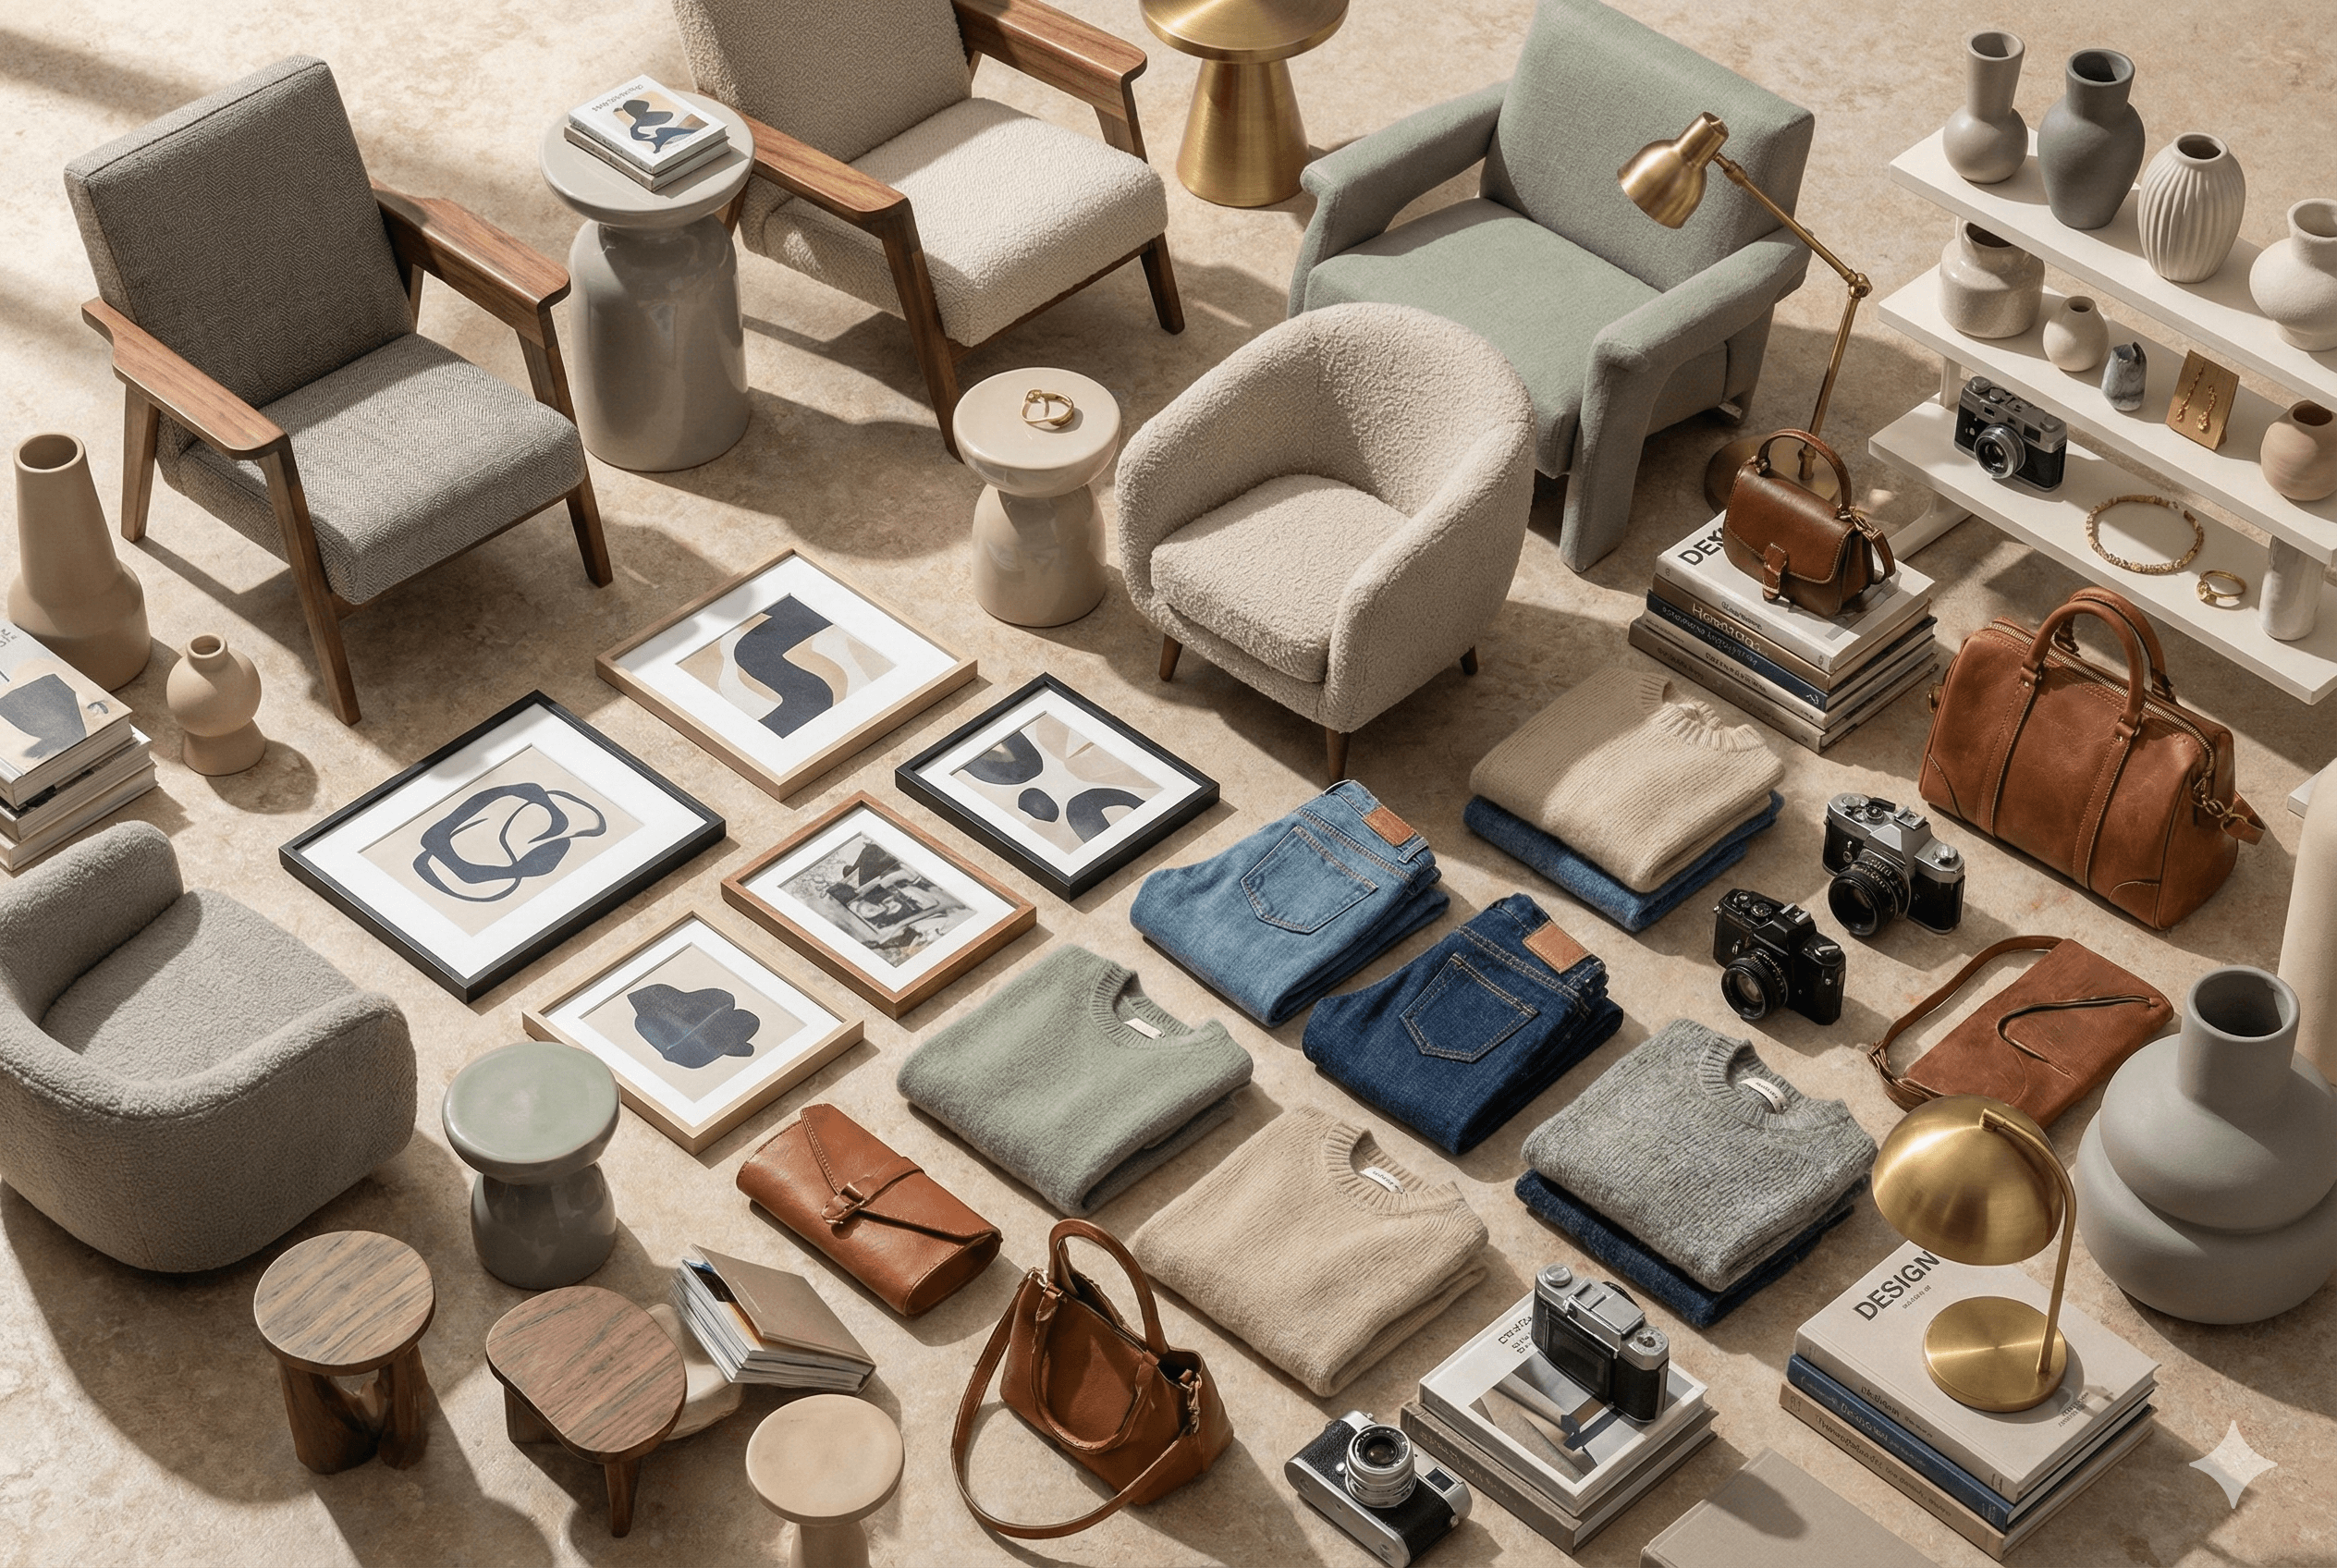
Step 2: Add your photos
Drag and drop images into Photo Studio, or click Upload to choose files from your computer. You can add one or many at once. Your images will appear as thumbnails.
Step 3: Edit a single image
Basic adjustments
- Open an image by clicking on it.
- Use tools like Crop, Resize, Rotate, Straighten, Flip, and Brightness to clean up the shot.
- Use Draw to circle flaws, highlight features, or add quick notes.
Remove or change the background
- Click Background Remover.
- Choose a background color (white and light gray work great for marketplaces).
- Apply to preview the cutout.
Add realistic shadows
- Toggle Shadow to give the item depth and a natural look.
- Adjust intensity if available, then Apply.
Stage the photo with AI
- Click AI Edit or Stage with AI.
- Type a prompt like “stage in a sunny furniture showroom.”
- Apply to let AI transform the scene.
Add your watermark
- Click Watermark and upload your logo (if you haven’t already).
- Place it (bottom-right is common) and size it appropriately.
- Click Apply.
When you’re happy, click Save to overwrite the image, or Save as New Image to keep both the original and the edited version.
Step 4: Save time with Recipes
Photo Studio remembers the edits you just made as a Recent Recipe (for example: remove background to white + add watermark). You can apply this to other photos in one go.
Apply a recipe in bulk
- From the gallery, select multiple images (use the checkboxes).
- Click Apply Recipe and choose your recent recipe.
- Photo Studio will run the same edits on all selected images.
Note: Background removal works best on clear product shots. Extreme close-ups or low-contrast edges may need manual touch-up. If a result looks off, delete the edit or re-run on a different image.
Step 5: Organize with Sets (folders)
- Click New Set and name it (e.g., “Accent Chairs”).
- Select the images you want to move.
- Click Move to Set and choose your new set.
Use sets to group by product type, collection, or listing workflow.
Step 6: Create a listing from your images
- Select one or more edited images.
- Click Create Listing.
- You’ll land on the listing page with your images already attached. ResaleOS AI will generate titles, descriptions, and categories for you. Review, tweak, and you’re ready to cross-list to marketplaces.
Step 7: Download or export images
- Select the images you’ve edited.
- Click Download to export them for use outside ResaleOS.
Tips and best practices
- Keep a clean, white background for marketplaces that prefer it (helps search and consistency).
- Use Save as New Image to preserve originals for future edits or A/B testing.
- Create separate recipes for different product lines (e.g., furniture vs. apparel).
- After background removal, zoom in and spot-check edges and shadows for realism.
- Keep watermarks small and in a corner so they don’t distract buyers.
- Write clear AI prompts (e.g., “minimal studio, soft shadow, white floor”) for more consistent staging results.