How to Ship Items from a Sale in ResaleOS
This guide will teach you how to create and manage shipments from sales in ResaleOS, including selecting carriers and printing labels.
Ship items from a sale in ResaleOS
This guide walks you through creating a shipment from a sale, choosing a carrier, printing the label, and tracking delivery — all inside ResaleOS.
Before you start
- Have a sale (order) with at least one item.
- Make sure the item has accurate weight and dimensions.
- Add a customer with a valid shipping address and email.
- Confirm your pickup address (your store/warehouse) is set.
- Have a scale, measuring tape, and a printer ready.
Step 1: Create or open the sale
Create the sale
Go to Sales and click New Sale. Add the item you’re shipping. For this example, we’ll use a small parcel item.
Assign the customer
Click Add Customer. Pick an existing customer or create a new one. Make sure the customer’s shipping address and email are correct — we’ll use these to calculate rates and send tracking.
Step 2: Add shipping and get live rates
On the sale, click Add Shipping.
Click Get Shipping Estimates. ResaleOS calculates rates using the item’s weight and dimensions, your pickup address, and the customer’s delivery address.
Choose a service
- Parcel (small packages): UPS, FedEx, USPS with service levels (Ground, 2-Day, Next Day, etc.).
- Local white-glove/same-day: Options like GoShare for large items that need pick-up and in-home delivery nearby.
- Long-distance freight/white-glove: Options like uShip or Freight Club for bulky items (e.g., dressers, cabinets) going far.
Compare prices and delivery speeds. You’ll see how each option stacks up (for example, how much more a next-day service costs vs. ground).
Add the selected rate to the order
Select your preferred service, then click Update Sale. This adds the shipping charge to the order total so you can collect payment from the customer.
Step 3: Collect payment and complete the sale
Click Continue. Collect the remaining balance and complete the sale.
After completion, ResaleOS automatically creates the shipping label and notifies the customer by email with their receipt and a tracking link. You don’t need to do anything else here.
Step 4: Print the label, pack, and hand off
- From the sale or the Shipments tab, click Print Label.
- Pack the item securely. Attach the label to the package.
- Drop off with the carrier or schedule pickup (for white-glove/freight services).
Track and manage shipments
Open the Shipments tab to see all active shipments. Expand a shipment to:
- Track its live status (Label Created → In Transit → Delivered).
- Print or reprint the label.
- See the shipping cost and whether the customer paid.
- Open the tracking link (the customer has this too).
When the carrier marks it delivered, ResaleOS marks the shipment complete.
Practical tips for accurate rates and smooth shipping
- Measure after packing: Weigh and measure the final box. Rates depend on the packaged size and weight.
- Double-check addresses: Wrong pickup or delivery addresses can change rates and cause delays.
- Pick the right service for the item: Small boxes → parcel carriers. Furniture or bulky items → white-glove or freight.
- Compare speed vs. cost: Faster services can be much more expensive. Use the rate list to choose smartly.
- Insurance and signatures: Add these with carriers when shipping high-value items.
- Printer formats: Use 4×6 labels for thermal printers or print to letter size if needed.
- If packaging changes: Update the item’s dimensions/weight and re-run estimates before completing the sale.
Where to find your shipments later
Go to the Shipments tab anytime. Filter by status, open a shipment to view its timeline, print the label, or jump to the tracking page. Everything updates automatically as the carrier scans the package.
Frequently asked questions
What do I need to prepare before shipping?
Ensure you have a sale with items, accurate weight and dimensions, a valid customer address, and a printer ready.
How can I get shipping estimates in ResaleOS?
Click 'Add Shipping' on the sale and then 'Get Shipping Estimates' to see rates based on the item's weight and dimensions.
What should I do after completing the sale?
After completion, ResaleOS automatically creates the shipping label and notifies the customer with their receipt and tracking link.
How can I track my shipments?
Open the Shipments tab to track live statuses and manage your shipments effectively.
What shipping options are available?
You can choose from options like UPS, FedEx, USPS, and local white-glove services depending on the package size and delivery needs.
Related Articles
The register
How the point of sale works — cart, tenders, drawers & receipts
The whole register, in the order a sale moves through it: scanning and pricing the cart, tax and surcharges, split tender and change due, card readers, layaway and gift cards, then drawer counts, register lock and receipts.
Rose → ResaleOS
How to move from Rose (Consignor Connect) to ResaleOS
Free, done-for-you move from Rose to ResaleOS. Rose runs on Square, so you connect Square with one click and your items, photos and sales arrive on their own. Rose's Contract List brings every consignor, split and balance, and each item is linked back to its consignor. Live by lunch, with your Square register still ringing.
Website builder
How the ResaleOS website builder works
Build a real website around your ResaleOS shop — clone your old site, start from a template, or describe it to AI. Plus favicon, social sharing, SEO and search-engine verification.
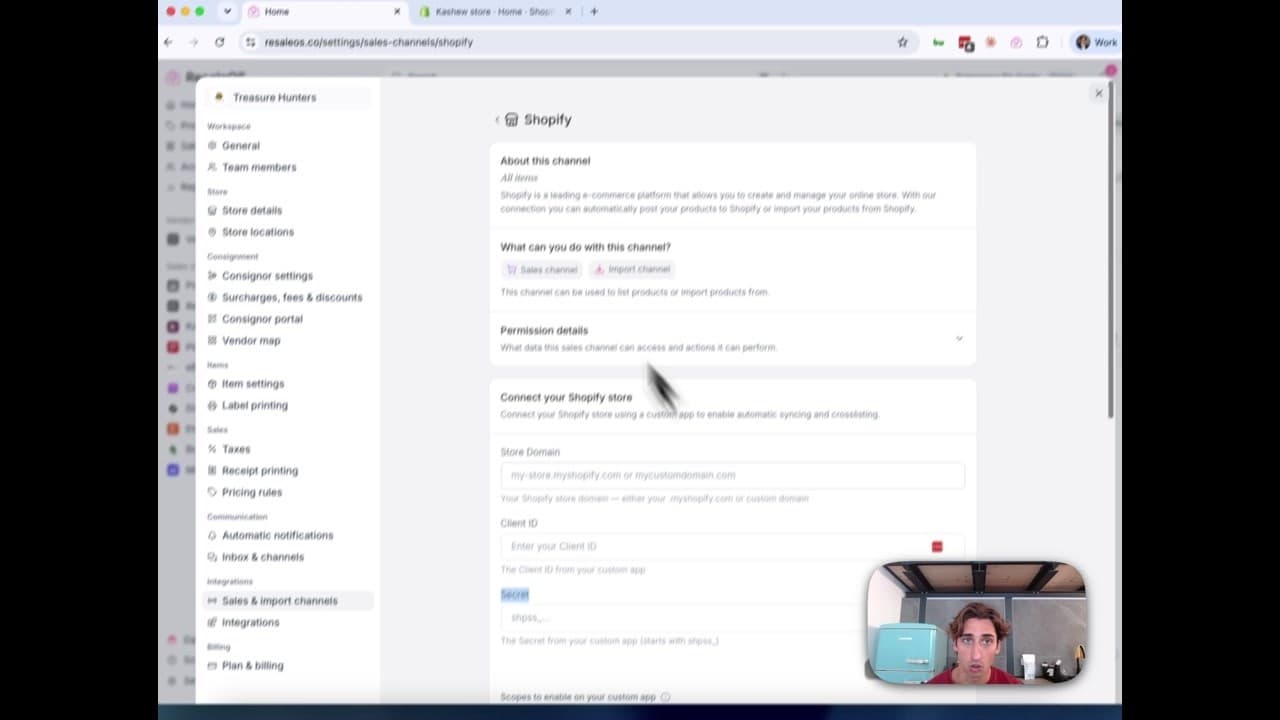
How to Connect Your Shopify Store to ResaleOS
Create a Shopify custom app, paste in the scopes ResaleOS gives you, and connect your store in a few minutes.
Vendoo → ResaleOS
How to move from Vendoo to ResaleOS
Moving from Vendoo takes about an hour, and nothing you have live gets re-listed or delisted. Connect the marketplaces you already sell on so your listings arrive with every photo, upload one export file from Vendoo for your drafts, labels and costs, and keep cross-listing from ResaleOS.
AI image editing
How image editing works — background removal, AI staging & batches
Remove backgrounds, add shadows, restage a product from a prompt, crop, colour-correct and watermark — on one photo or a whole batch. Which AI models run each job, what counts against your monthly photo edits, and how recipes replay your house style.
What we cover in a demo
ResaleOS overview — what we cover in a demo call
The same walkthrough we give on a live demo call, recorded so you can watch it now: inventory, building a listing from photos, the pricing engine, crosslisting, sales from every channel, your storefront, consignors and what it costs. Seven minutes, full transcript included.
Import stock photos
How to import stock photos from the web
Type a product title and ResaleOS finds the same item on eBay, Poshmark, Mercari, Etsy and more — then lets you import their photos in one tap. Plus barcode lookup, Upload by URL, plan limits, and when to shoot your own photos instead.

Get started
Put what you've learned into practice. Start listing, managing inventory, and selling across channels today.