How to create custom product fields
Every inventory has something ResaleOS does not have a box for. Serial numbers. Country of manufacture. The author of a book. Which shelf an item is sitting on. Custom fields — sometimes called metafields — let you define those once, and then fill them in on every product. They flow through to your spreadsheets, your labels, your reports, and onto your marketplace listings.
Go to Settings → Item settings
Open the Custom product fields section. It is described as “Extra metafields that appear on every product form.” — that is the one.
Click Add metafield at the bottom of the table. Give it a Name — this is the label sellers and, in some cases, buyers will see, so name it the way you want it to read (Country of manufacture, not coo).
Add description is optional but worth using if anyone else on your team will fill the field in. The description shows as a tooltip on the product form, which is where a teammate will actually wonder what the field means.
There is no Save button for this section — changes save as you make them. There is also no limit on how many fields you create, and they are available on every plan.
Pick a type — and choose one value or a list
Two dropdowns sit side by side. The first is how many values the field holds, the second is what kind of data it is.
Single line text
Anything written — a serial number, a country of manufacture, an author, a shelf location.
Integer
Whole numbers only — page count, number of pieces, year. Decimals are rejected.
File upload
A document attached to the product — a certificate of authenticity, an appraisal, a manual.
One value or List of values
One value gives you a single input. List of values turns the field into a multi-select you can add several entries to — useful for something like Materials where an item is cotton and linen. List fields are available for text and integer fields; a file field always holds one file.
Fill it in on the product
Open any product and look for the Product metafields section, just below the dimensions. Your fields appear there, in the order you created them.
List fields do something useful as your catalog grows: they suggest values you have already used on other products. Type a few characters and previous entries appear; click Add new entry to add one that does not exist yet. Your vocabulary builds itself, and you avoid ending up with Vintage, vintage and Vintage as three different values.
The pin icon controls whether a field shows on the form
Unpin a field and it disappears from the product form without being deleted — existing values are kept, and it still exports and reports. Handy for a field you only fill in during an import and do not want cluttering the form afterwards.
Where your custom fields turn up
Once a field exists, it is available across ResaleOS without any further setup.
Bulk editor
Under the Product metafields column group. File fields excluded.
CSV import
Each field appears as “<Name> (custom field)” in the column mapper.
CSV export
One column per field, alongside your normal product columns.
Product labels
Pick which fields to print. Each prints as “Name: value”.
Pick lists
Print a field like shelf location on the pick list for faster picking.
Custom reports
Available as columns on the Inventory source.
One gap worth knowing: you cannot yet filter or search your products list by a custom field. You can add one as a column and sort by it, and to slice your inventory by one, use a Custom report or export to CSV.
Send custom fields to your listings
This is where custom fields earn their keep. Your custom fields can carry through to the sales channels you export to — so a detail you record once in ResaleOS ends up in front of buyers, wherever you list.
How it works
Open a channel under Settings → Sales channels and look in its Export settings. Where a channel supports it, you tell ResaleOS which custom field to send and what it is called on that platform. If the channel has a field by that name, your value is exported into it — on that listing and every one after.
Example
You sell vintage furniture, so you create a custom field called Country of manufacture and fill it in as you list — Denmark, Italy, France. In your channel's export settings you point that field at the channel's own country-of-manufacture field. From then on, every piece you export carries its origin, and buyers filtering for Danish mid-century furniture actually find yours.
Names matter — some channels pick a custom field up automatically when its name matches one of their own, so it is worth naming fields the way the marketplace names them. Spelling has to match; capitalisation does not.
Not every channel exposes the same fields, so check the Export settings of the channels you use to see what each one accepts. Your custom fields are stored on the product regardless, and always reach your exports, labels and reports.
Editing and deleting fields
Type locks once the field is in use
As soon as one product has a value, the type cannot be changed and the field cannot be deleted — so your data is never silently reinterpreted or dropped. The name and description stay editable.
To change a locked field
Clear the value from every product using it — the Used in column tells you how many — and the type and delete controls unlock. The bulk editor is the fastest way to clear a field across many products.
Unpin instead of deleting
If you just want a field off the product form, unpin it. Nothing is lost, and you can pin it back later.
Editing a value re-exports the product
Changing a custom field marks the product as changed, so it re-syncs to your connected channels like any other edit.
Make ResaleOS fit your inventory
Custom fields are included on every plan. Get started for $1 for your first 30 days and set your catalog up the way you actually work.
Frequently asked questions
What is a custom product field in ResaleOS?
A custom product field (also called a metafield) is an extra field you define once in Settings that then appears on every product in your inventory. Use it for anything ResaleOS does not have a built-in field for — serial numbers, country of manufacture, authors, shelf locations, certificates.
What field types are available?
Three types: Single line text, Integer for whole numbers, and File upload. Text and integer fields can hold either one value or a list of values. File fields hold a single file.
Can I send custom fields to my sales channels?
Yes. Open a channel under Settings → Sales channels and look in its Export settings. Where the channel supports it, you tell ResaleOS which custom field to send and what it is called on that platform, and the value is exported into that field on every listing. Some channels pick a custom field up automatically when its name matches one of their own, so it is worth naming fields the way the marketplace names them.
Why can I not change a field type?
Once a field holds a value on at least one product, its type is locked and it cannot be deleted, so existing data is never silently reinterpreted or lost. Clear the field from those products first, then change or delete it. The name and description stay editable at all times.
Do custom fields cost extra?
No. Custom product fields are available on every ResaleOS plan, and there is no limit on how many you create.
Related Articles
Rose → ResaleOS
How to move from Rose (Consignor Connect) to ResaleOS
Free, done-for-you move from Rose to ResaleOS. Rose runs on Square, so you connect Square with one click and your items, photos and sales arrive on their own. Rose's Contract List brings every consignor, split and balance, and each item is linked back to its consignor. Live by lunch, with your Square register still ringing.
Add a video
How to add a video to a product
Upload a clip up to 500MB in almost any format; ResaleOS converts it and sends it to every channel that accepts video.
Bulk edit
How to bulk edit products
Change category, price, brand, tags, consignor or shipping details on thousands of products at once, in a spreadsheet-style grid.
Possible duplicates
How to find and merge duplicate items
Find items entered twice — same SKU, title, or photo — and merge them without losing a listing, a sale, or a consignor payout.
What's it worth?
How to find what an item is worth
Pull real sold comps and live listings from twenty-plus marketplaces and get a suggested price for any item, right from the product page.
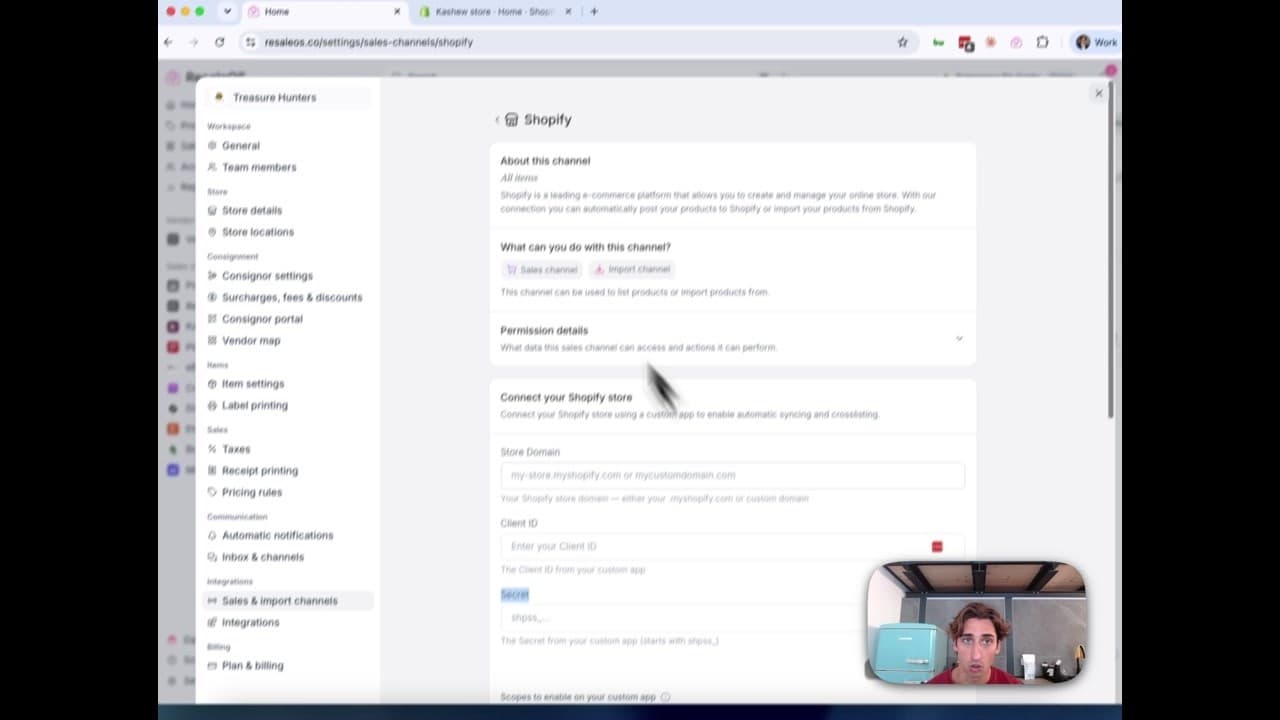
How to Connect Your Shopify Store to ResaleOS
Create a Shopify custom app, paste in the scopes ResaleOS gives you, and connect your store in a few minutes.
Vendoo → ResaleOS
How to move from Vendoo to ResaleOS
Moving from Vendoo takes about an hour, and nothing you have live gets re-listed or delisted. Connect the marketplaces you already sell on so your listings arrive with every photo, upload one export file from Vendoo for your drafts, labels and costs, and keep cross-listing from ResaleOS.
AI image editing
How image editing works — background removal, AI staging & batches
Remove backgrounds, add shadows, restage a product from a prompt, crop, colour-correct and watermark — on one photo or a whole batch. Which AI models run each job, what counts against your monthly photo edits, and how recipes replay your house style.