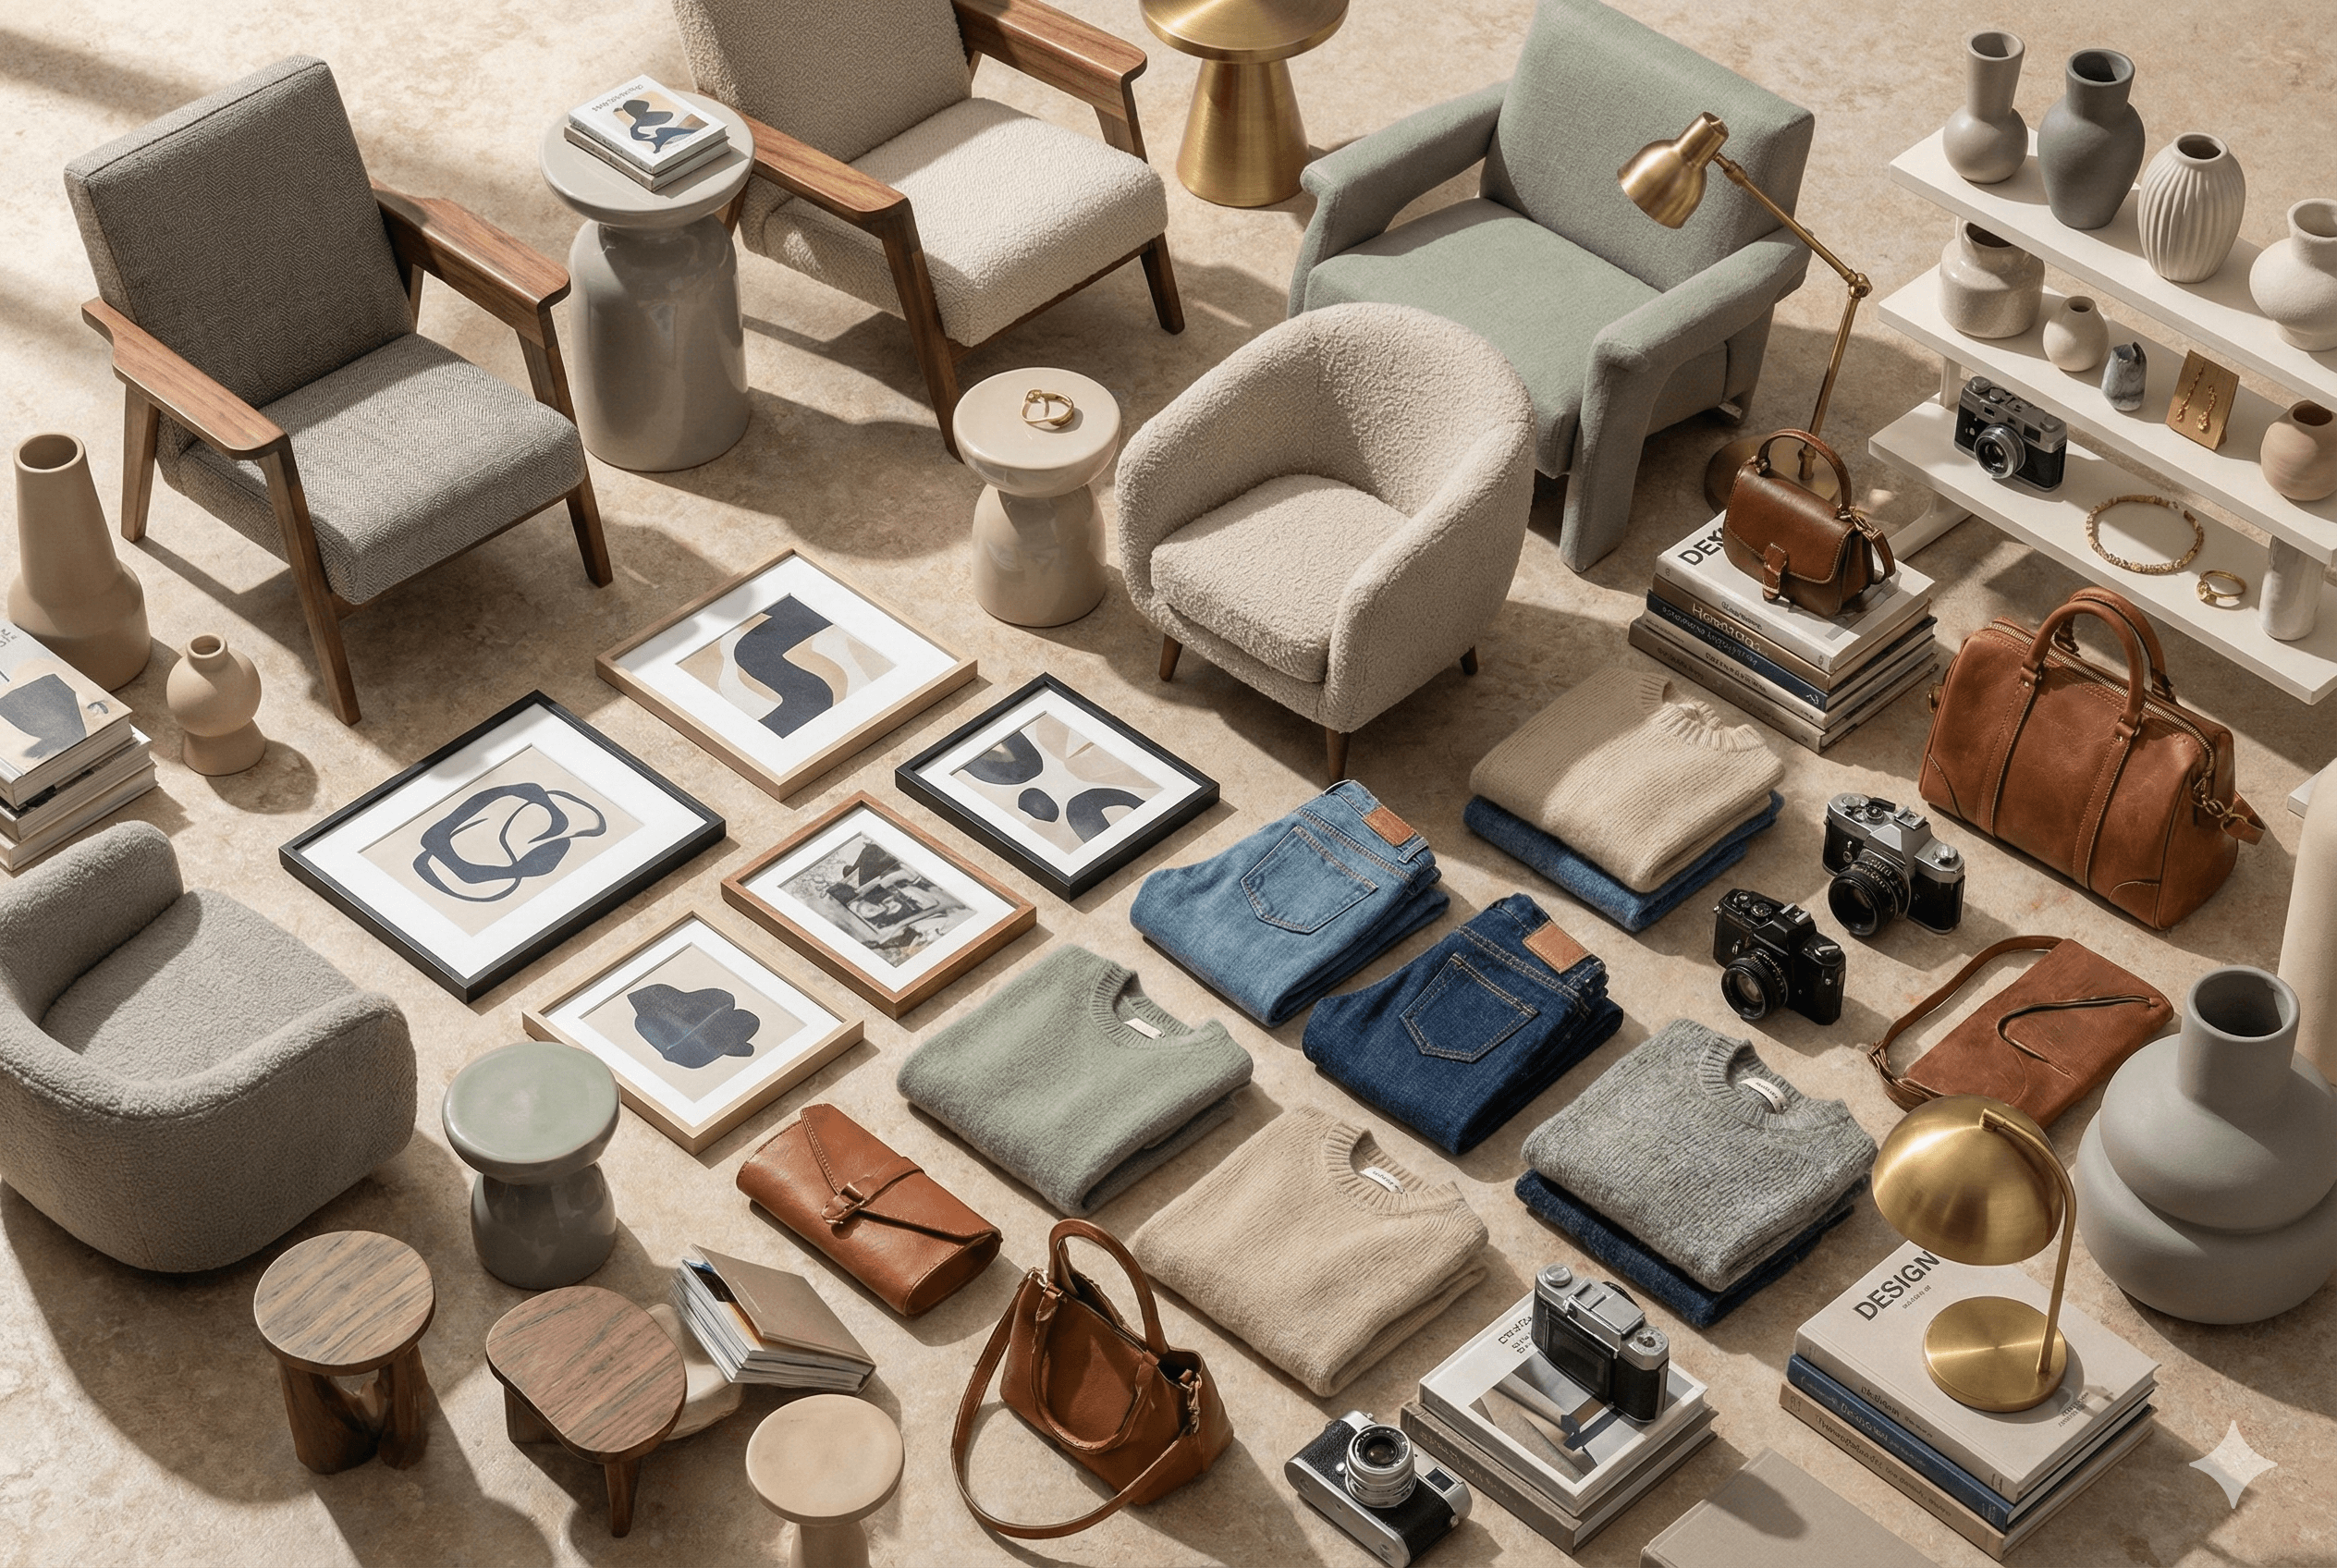
Set up a photo corner that works every day
If you have to rebuild your photo setup every time, you won’t shoot. Make a small, permanent corner. A folding table against a wall works. Tape the backdrop to the wall and let it sweep onto the table so there’s no hard line. Use white or light gray paper for most items. Use black only when a white item vanishes on white.
Keep tools within arm’s reach: lint roller, microfiber cloth, glass cleaner, a soft brush, Goo Gone, and a magic eraser. A small jar for loose screws and buttons. A tape measure for quick scale shots. Mark your tripod feet on the floor with tape so your angle stays the same day to day. Put a power strip on the table leg. Label your bulbs so you don’t mix warm and cool by accident.
Backgrounds that save time: a 24x36 white foam board for flat lays, a clip-on hanger for shirts, and a couple of small acrylic stands to float small items (cameras, mugs, pedals) without seeing the stand. A cheap rolling rack keeps incoming and shot items separate so nothing gets lost in the shuffle.
Light it so used goods look clean (not washed out)
Two lights beat one. Put them at roughly 45° to the item, slightly above eye level, both the same color (daylight bulbs are a safe bet). Add cheap diffusion: a white shower curtain or softbox. Overhead room lights? Kill them. Mixed light makes weird colors you’ll chase forever.
Window shooter? Work when the sun is indirect. Face the window, item between you and it, and use a white board on the opposite side to bounce light into shadows. Direct sun gives harsh, ugly highlights on glossy things like handbags and electronics.
Color accuracy matters. Set white balance to “daylight” or use a plain white card to set custom white balance once per session. On a phone, tap and hold to lock focus/exposure, then slide exposure down a hair so whites don’t clip. A tiny shadow is good—it gives shape. Pure shadowless images make shoes look like 3D renders and buyers get suspicious.
The repeatable shot list buyers actually care about
Buyers skim. Give them the angles that answer questions fast. Example sets:
- Clothing: full front, full back, collar/neckline, cuffs and hem, fabric texture, size and care tags, brand tag, any flaws.
- Shoes: full pair 3/4 angle, sides, backs, insoles, toe boxes, soles/tread, size stamp, logo close-up, flaws.
- Electronics: front powered on, ports, cables/accessories, serial/model sticker, battery bay/contacts, screen close-up, underside screws (stripped or not).
- Hard goods/furniture: overall, each corner/joint, hardware close-ups, maker’s mark/label, underside, a photo with a tape measure on length/height.
- Clean the item. Lint roll, wipe fingerprints, knock off dust. 60 seconds now saves editing later.
- Place the item on your marked spot. Straighten labels and laces. Fillers in shoes help shape.
- Lock your white balance and exposure for the session so colors match across items.
- Shoot the “hero” 3/4 shot first. That’s your thumbnail. Leave padding around the item for cropping.
- Shoot required sides in a set order (e.g., front, back, left, right, detail, flaw). Same order, every time.
- Capture size/scale: ruler on the sole length, jacket pit-to-pit with tape showing the number.
- Shoot flaws last and tight. Point at them with a finger or arrow sticker to reduce “I didn’t see it.”
- Final frame: the SKU label resting on the item or in the frame corner. This ties photos to inventory later.
- Bag/tag the item immediately and place it in its bin. Don’t let “photo pile” become “mystery pile.”
Non-obvious photo mistakes that kill trust
- Mixed color temps: One warm lamp and one cool panel turns whites into mint or peach. Solution: use matched bulbs and kill overhead lights.
- Greasy lens: A thumbprint on your phone lens makes everything hazy. Wipe it every session. It’s the fastest “quality upgrade” you can buy for free.
- Curved verticals: Shooting furniture from above makes legs bow. Lower the camera to mid-height and step back; crop in later.
- Your reflection in shiny stuff: Buyers don’t need to meet you in a chrome toaster. Angle the item or move the lights until you disappear.
- Moire on knits: Tight patterns can shimmer. Step back a bit and zoom in slightly to change pixel pitch.
- Dirty backdrop “ghosts”: Last item left a scuff you can’t un-see. Keep a magic eraser handy and replace paper when it’s tired.
- Inconsistent crops: Ten listings, ten different thumbnail looks. Keep headroom consistent so your store grid doesn’t look chaotic.
- Forgetting the “works” proof: Electronics shown off but never powered on in a photo. Show the start screen or a test sound—saves messages later.
Speed up the workflow and keep it consistent
Batch similar items. Shoot all shoes, then all shirts. You move less, think less, and your lighting won’t need tweaks every five minutes. Use a simple naming habit: SKU_001_hero, SKU_001_back, etc. If you shoot on a phone, AirDrop or auto-upload to a single “To List” folder. If you can tether a camera, do it—instant review catches focus misses before you bag the item.
If you’re building a real pipeline, a tool should handle the boring parts in the background. That’s where ResaleOS fits in as the plumbing, not the star of the show.
- Snap photos, then drop them into a folder named with the SKU. ResaleOS ingests the folder and ties images to that inventory record automatically.
- Use the first hero shot to auto-generate a draft title, category, and description. Tweak once, not five times.
- Capture a quick photo of weight and dimensions on the scale; ResaleOS saves it with the item so shipping is set when you list.
- Shoot flaws with arrow stickers; the AI callout notes them in the condition field so buyers know what they’re seeing.
- When you list, the same photo set pushes to each marketplace without reordering or re-uploading.
Two last tips. First, pick a look and stick to it. Same background, same angles, same lighting. Consistency sells because buyers stop wondering what’s off. Second, edit light and fast: straighten, crop, white balance, done. If your setup is right, you won’t be babysitting sliders all night. When you’re ready to turn that clean photo flow into faster listings and fewer “Is this available?” messages, let the photos feed your system and let something like ResaleOS handle the plumbing while you keep hunting the next $3 lamp.